
Navigating the TimeFlow Interface
TimeFlow's dashboard is built around three areas: a left sidebar for moving between modules, a header for account-level tools and utilities, and a footer for quick shortcuts and communication tools. This guide explains what's in each and how they change based on your role.
Updated · Getting started & account
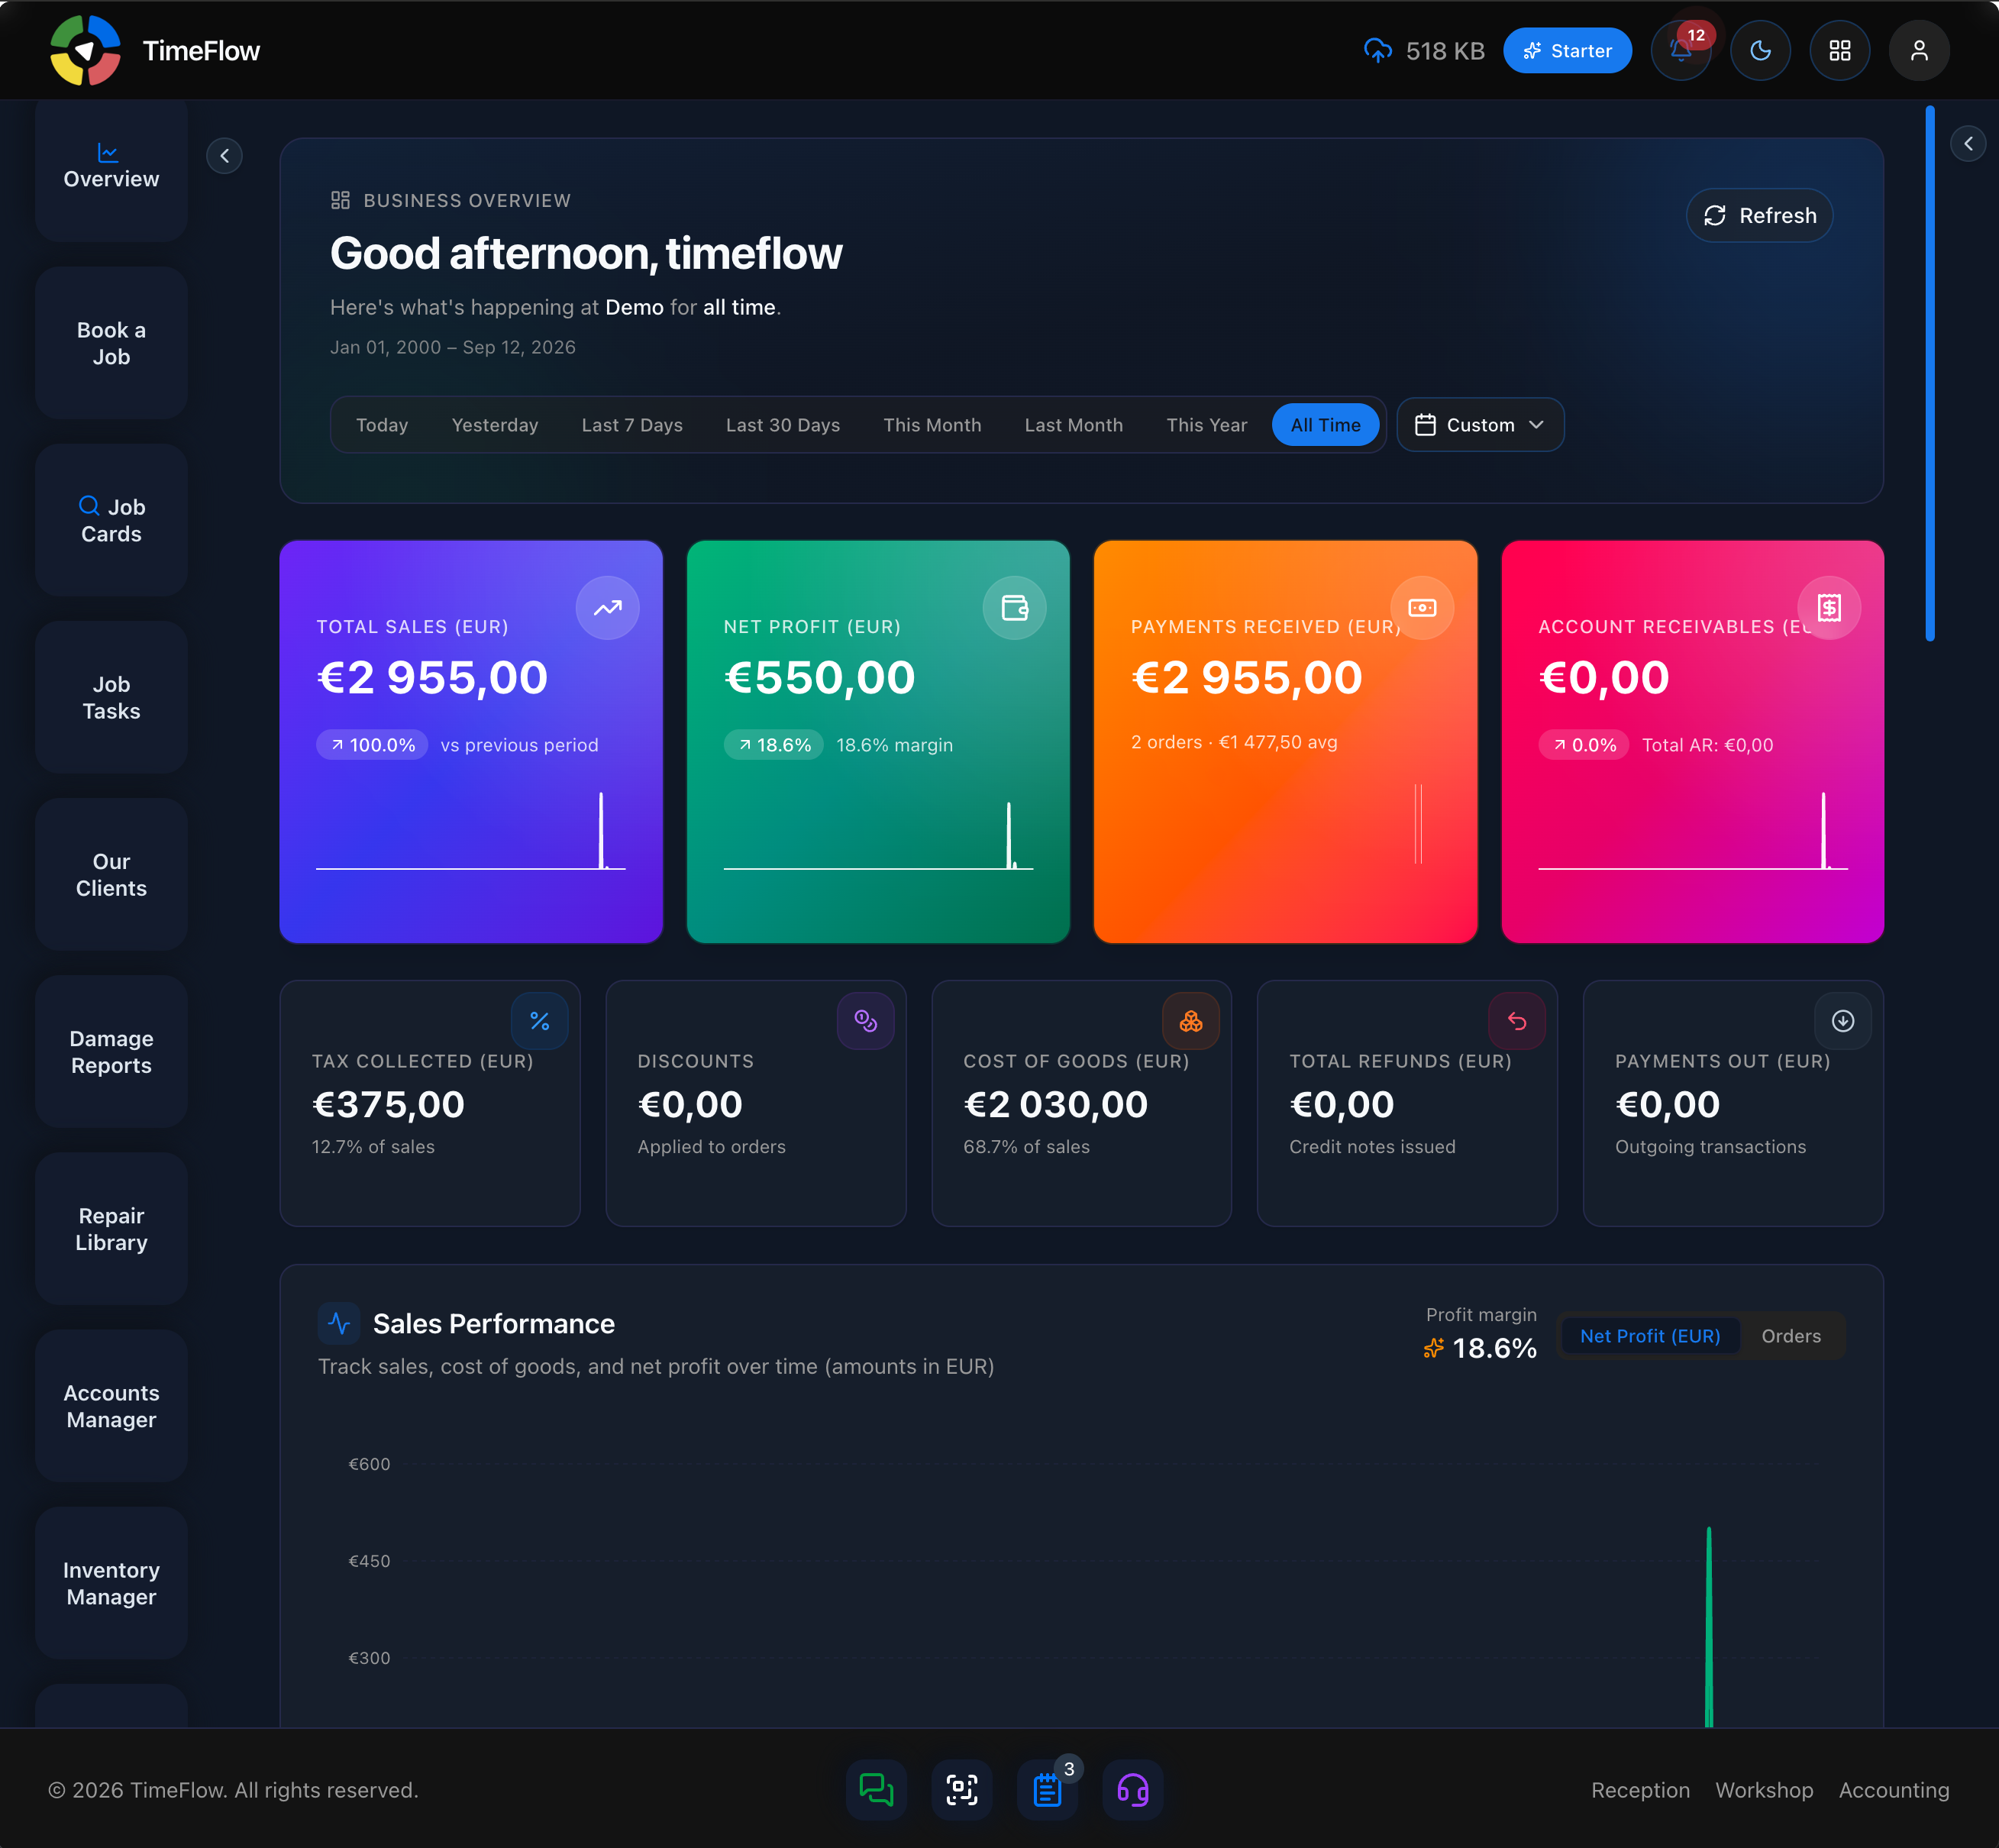
Left sidebar
The sidebar is a vertical strip of icons/labels down the left edge of the dashboard. Click the arrow at its top-right edge to collapse or expand it.
Items shown depend on your permissions. The full set of possible items, in order:
- POS — Point of Sale screen (needs POS permission)
- Overview — general dashboard overview (needs overview permission)
- Book a Job — opens the New Booking / job card form (needs reception or booking permission)
- Job Cards — search existing job cards (needs reception permission)
- Job Tasks — workshop job task list (needs technician or reception permission)
- Our Clients — client list (needs reception or clients permission)
- Damage Reports — workshop damage reports (needs technician or reception permission)
- Repair Library — repair guides/library (needs technician permission)
- Accounts Manager — accounting module (needs accounting permission)
- Inventory Manager — inventory module (needs inventory permission)
- Trade In — trade-in module (needs trade_in permission)
- Insights — insights dashboard (needs insights permission)
- Analytics — analytics dashboard (needs analytics permission)
- User Guide — TimeFlow's own in-app documentation (no permission needed)
- Support — tech support tickets (no permission needed)
Depending on your job title, an extra Dashboard link is appended to the bottom of the sidebar, taking you to a role-specific hub:
- Technician → Workshop dashboard
- Reception → Reception dashboard
- Accountant → Accounting dashboard
- Owner / Manager → see the full list above with no extra hub link (they already land on a general overview)
Header
Across the top of the dashboard, left to right, you'll typically find:
- Logo — click to return to the dashboard home.
- Branch Switcher (owners only) — switch which branch/location you're working in, for companies with multiple branches.
- Cloud Storage Usage — a small indicator showing how much of your storage plan you've used.
- Theme toggle (sun/moon icon) — switch between light and dark mode.
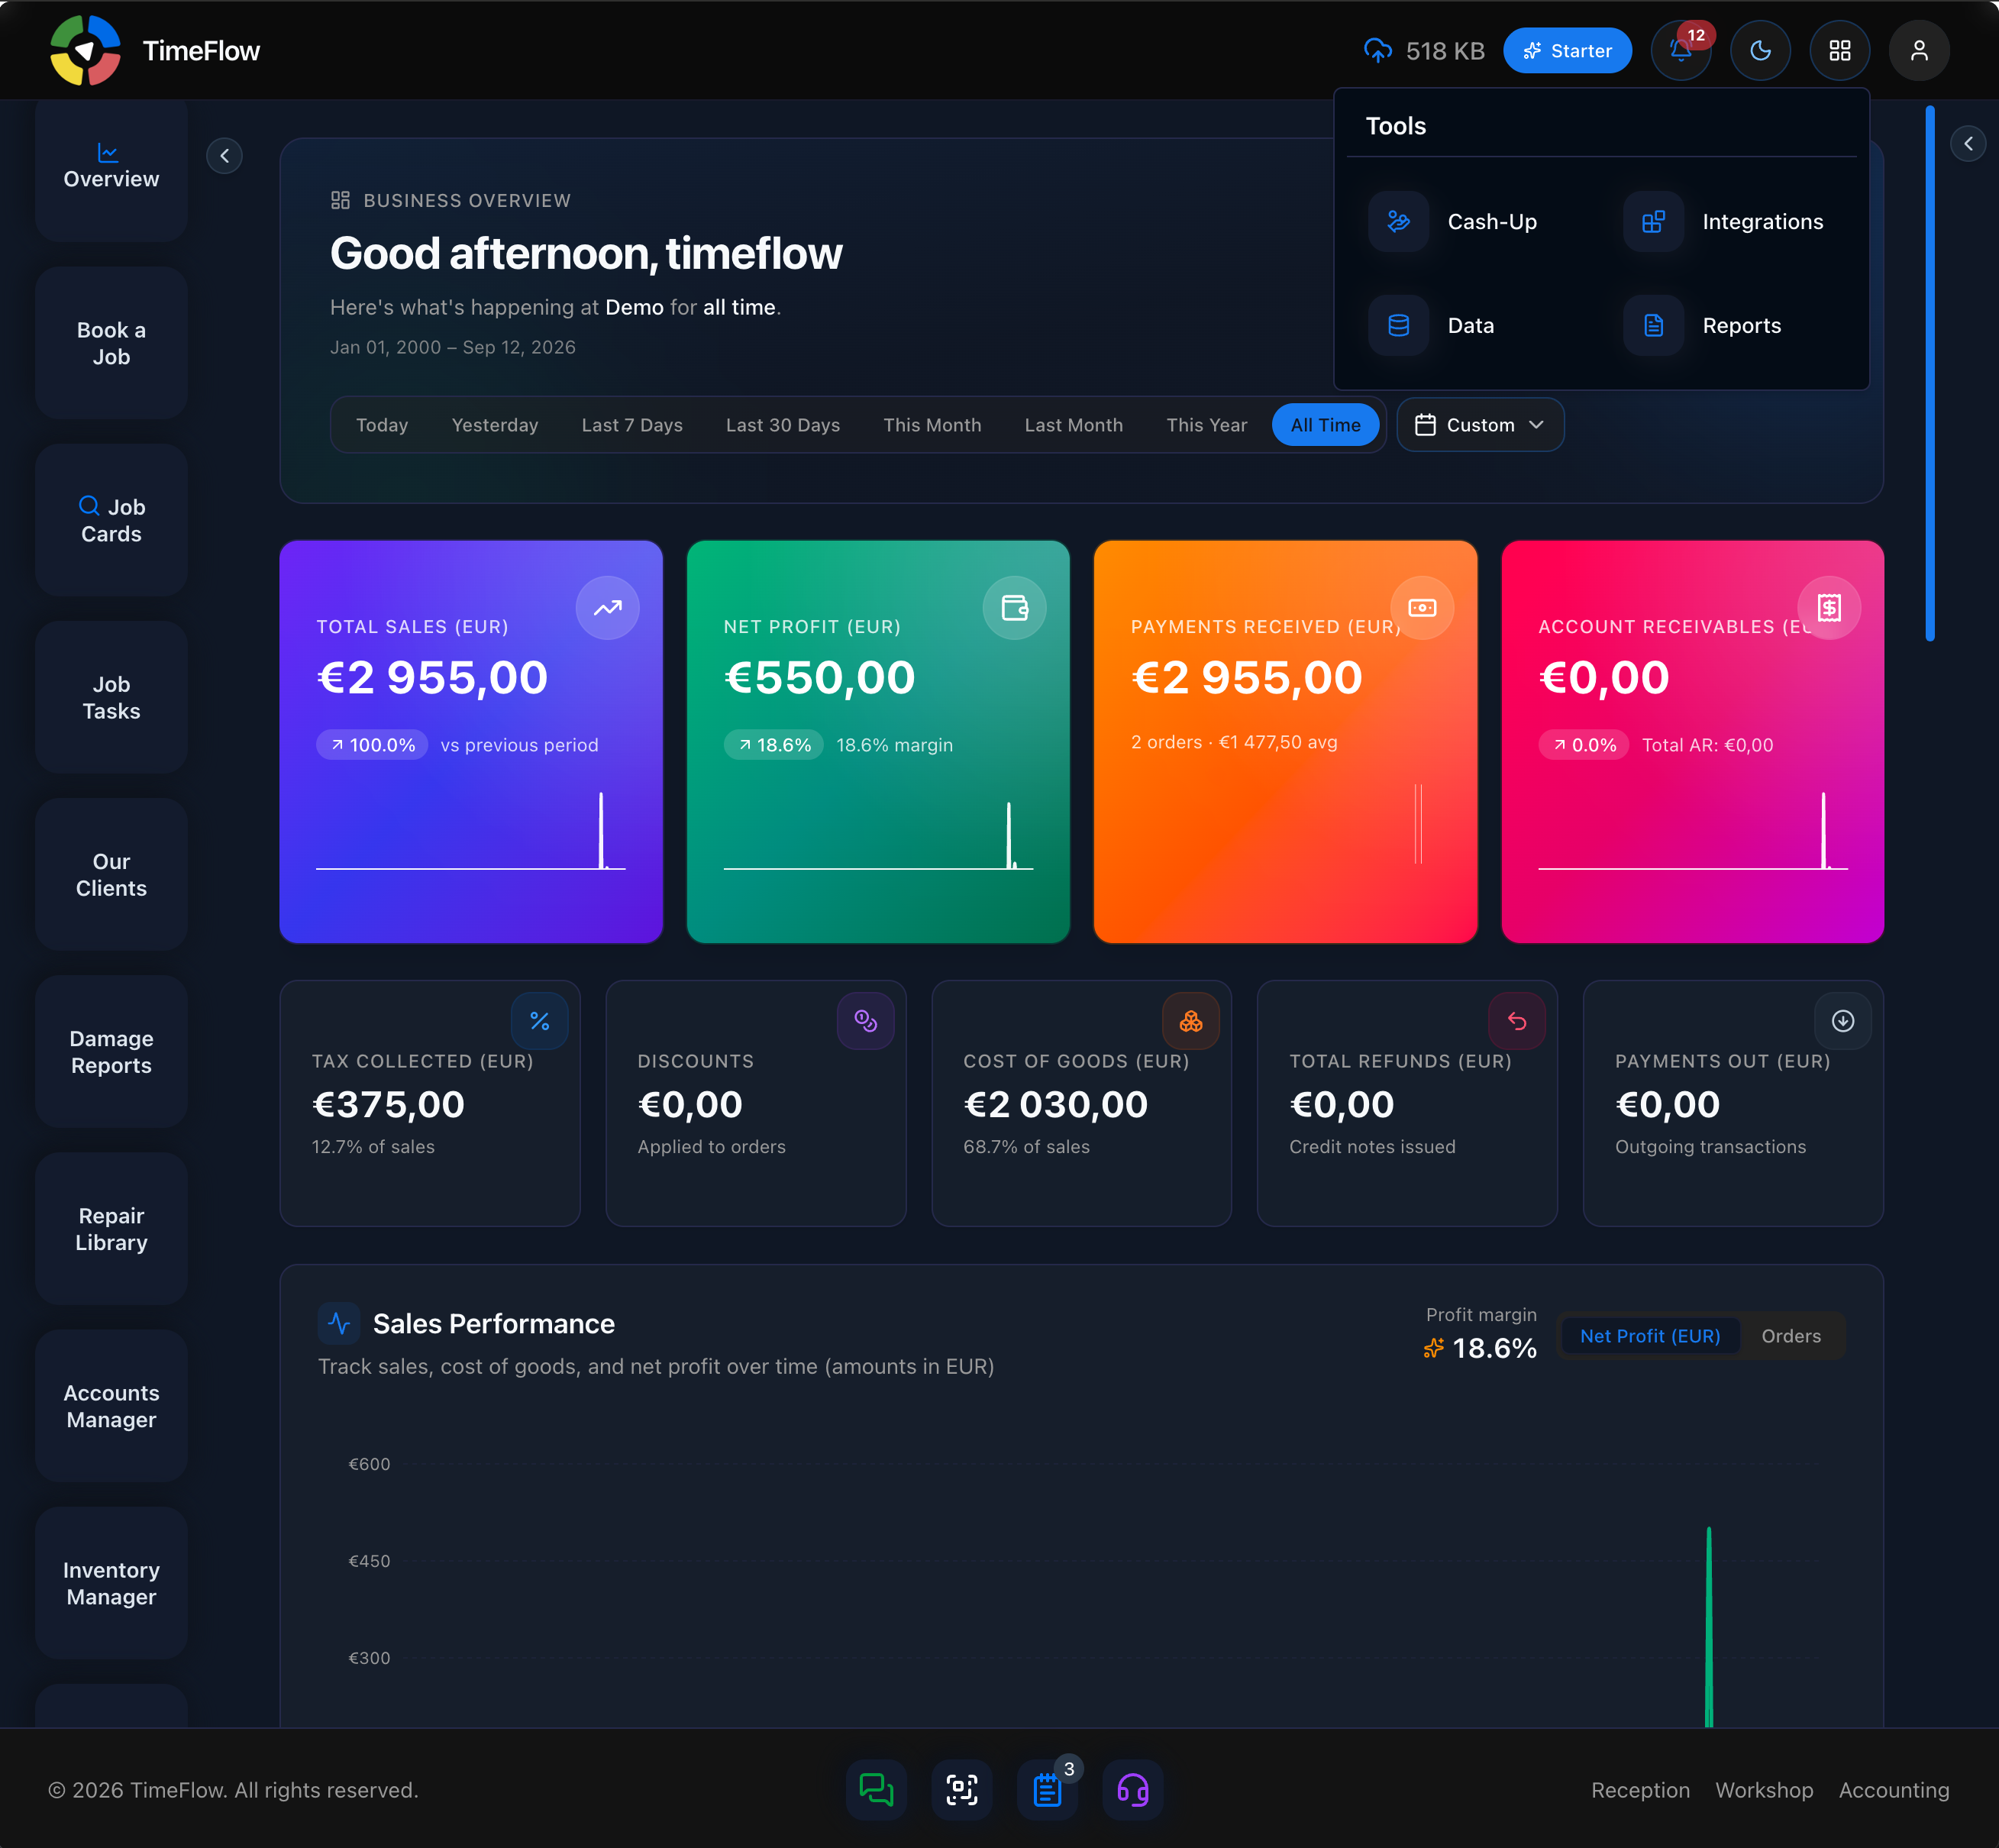
- Tools menu (grid icon, top right) — opens a dropdown with:
- Cash Up (needs accounting permission)
- Integrations (needs integrations permission) →
/dashboard/integrations - Data (needs data permission) →
/dashboard/data - Reports (needs reports permission) →
/dashboard/accounts/reports
- AI Assistant — opens the AI assistant drawer for in-app help.
- Notification bell — shows recent notifications.
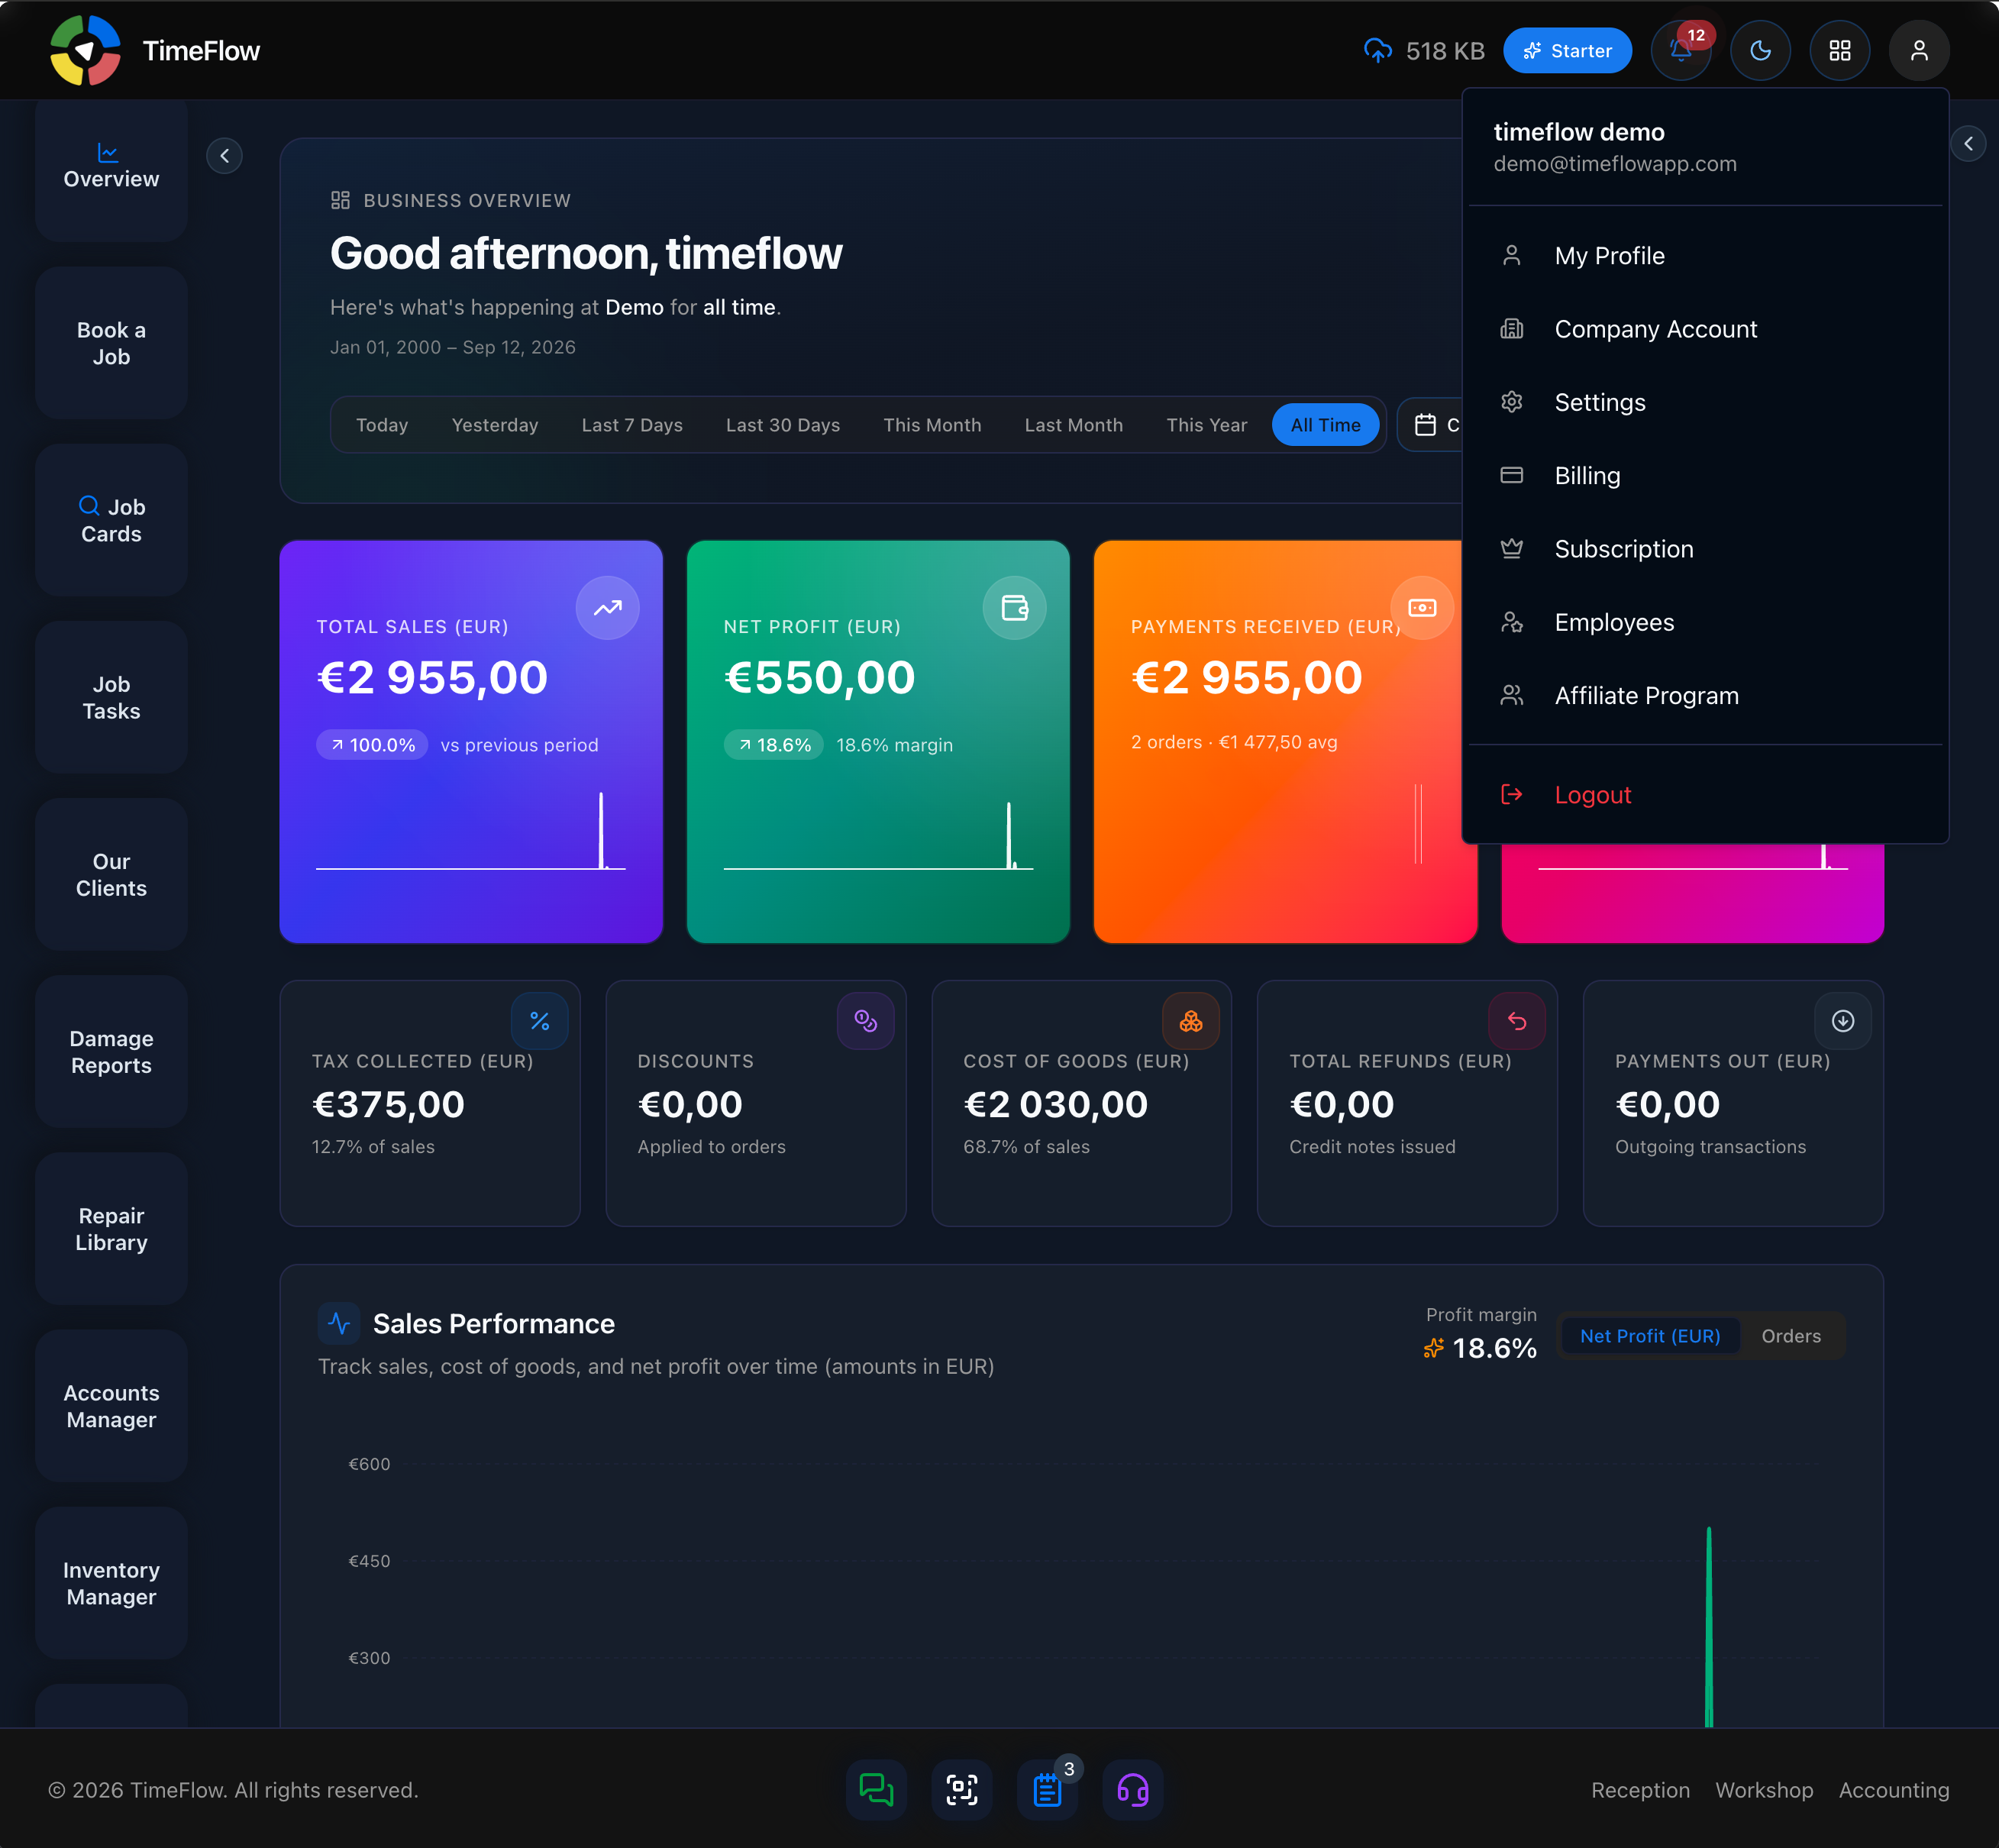
- Profile menu (your avatar) — opens a dropdown with:
- My Profile → My Profile page
- Company Account → company account details
- Settings → account settings
- Billing → billing details
- Subscription → your plan/subscription
- Employees (if you have employee-performance permission) → team management
- Affiliate Program → the affiliate program
- Logout
The header does not provide direct links into day-to-day modules like Reception, Workshop, or Accounting — that's what the sidebar and footer are for.
Footer
At the bottom of the dashboard, the footer has:
- Copyright notice (hidden on small screens).
- Quick-access icons in the middle: Chat, Code Scanner (QR/barcode), Client Portal, and System Chat.
- On wider screens, module shortcut links on the right — shown only if you have the matching permission:
- Reception →
/dashboard/reception(the Reception hub) - Workshop →
/dashboard/workshop(the Workshop hub) - Accounting →
/dashboard/accounting(the Accounting hub)
- Reception →
These footer links open each module's hub page (with its own Quick Actions), not a specific form directly.
Jobs panel (right side)
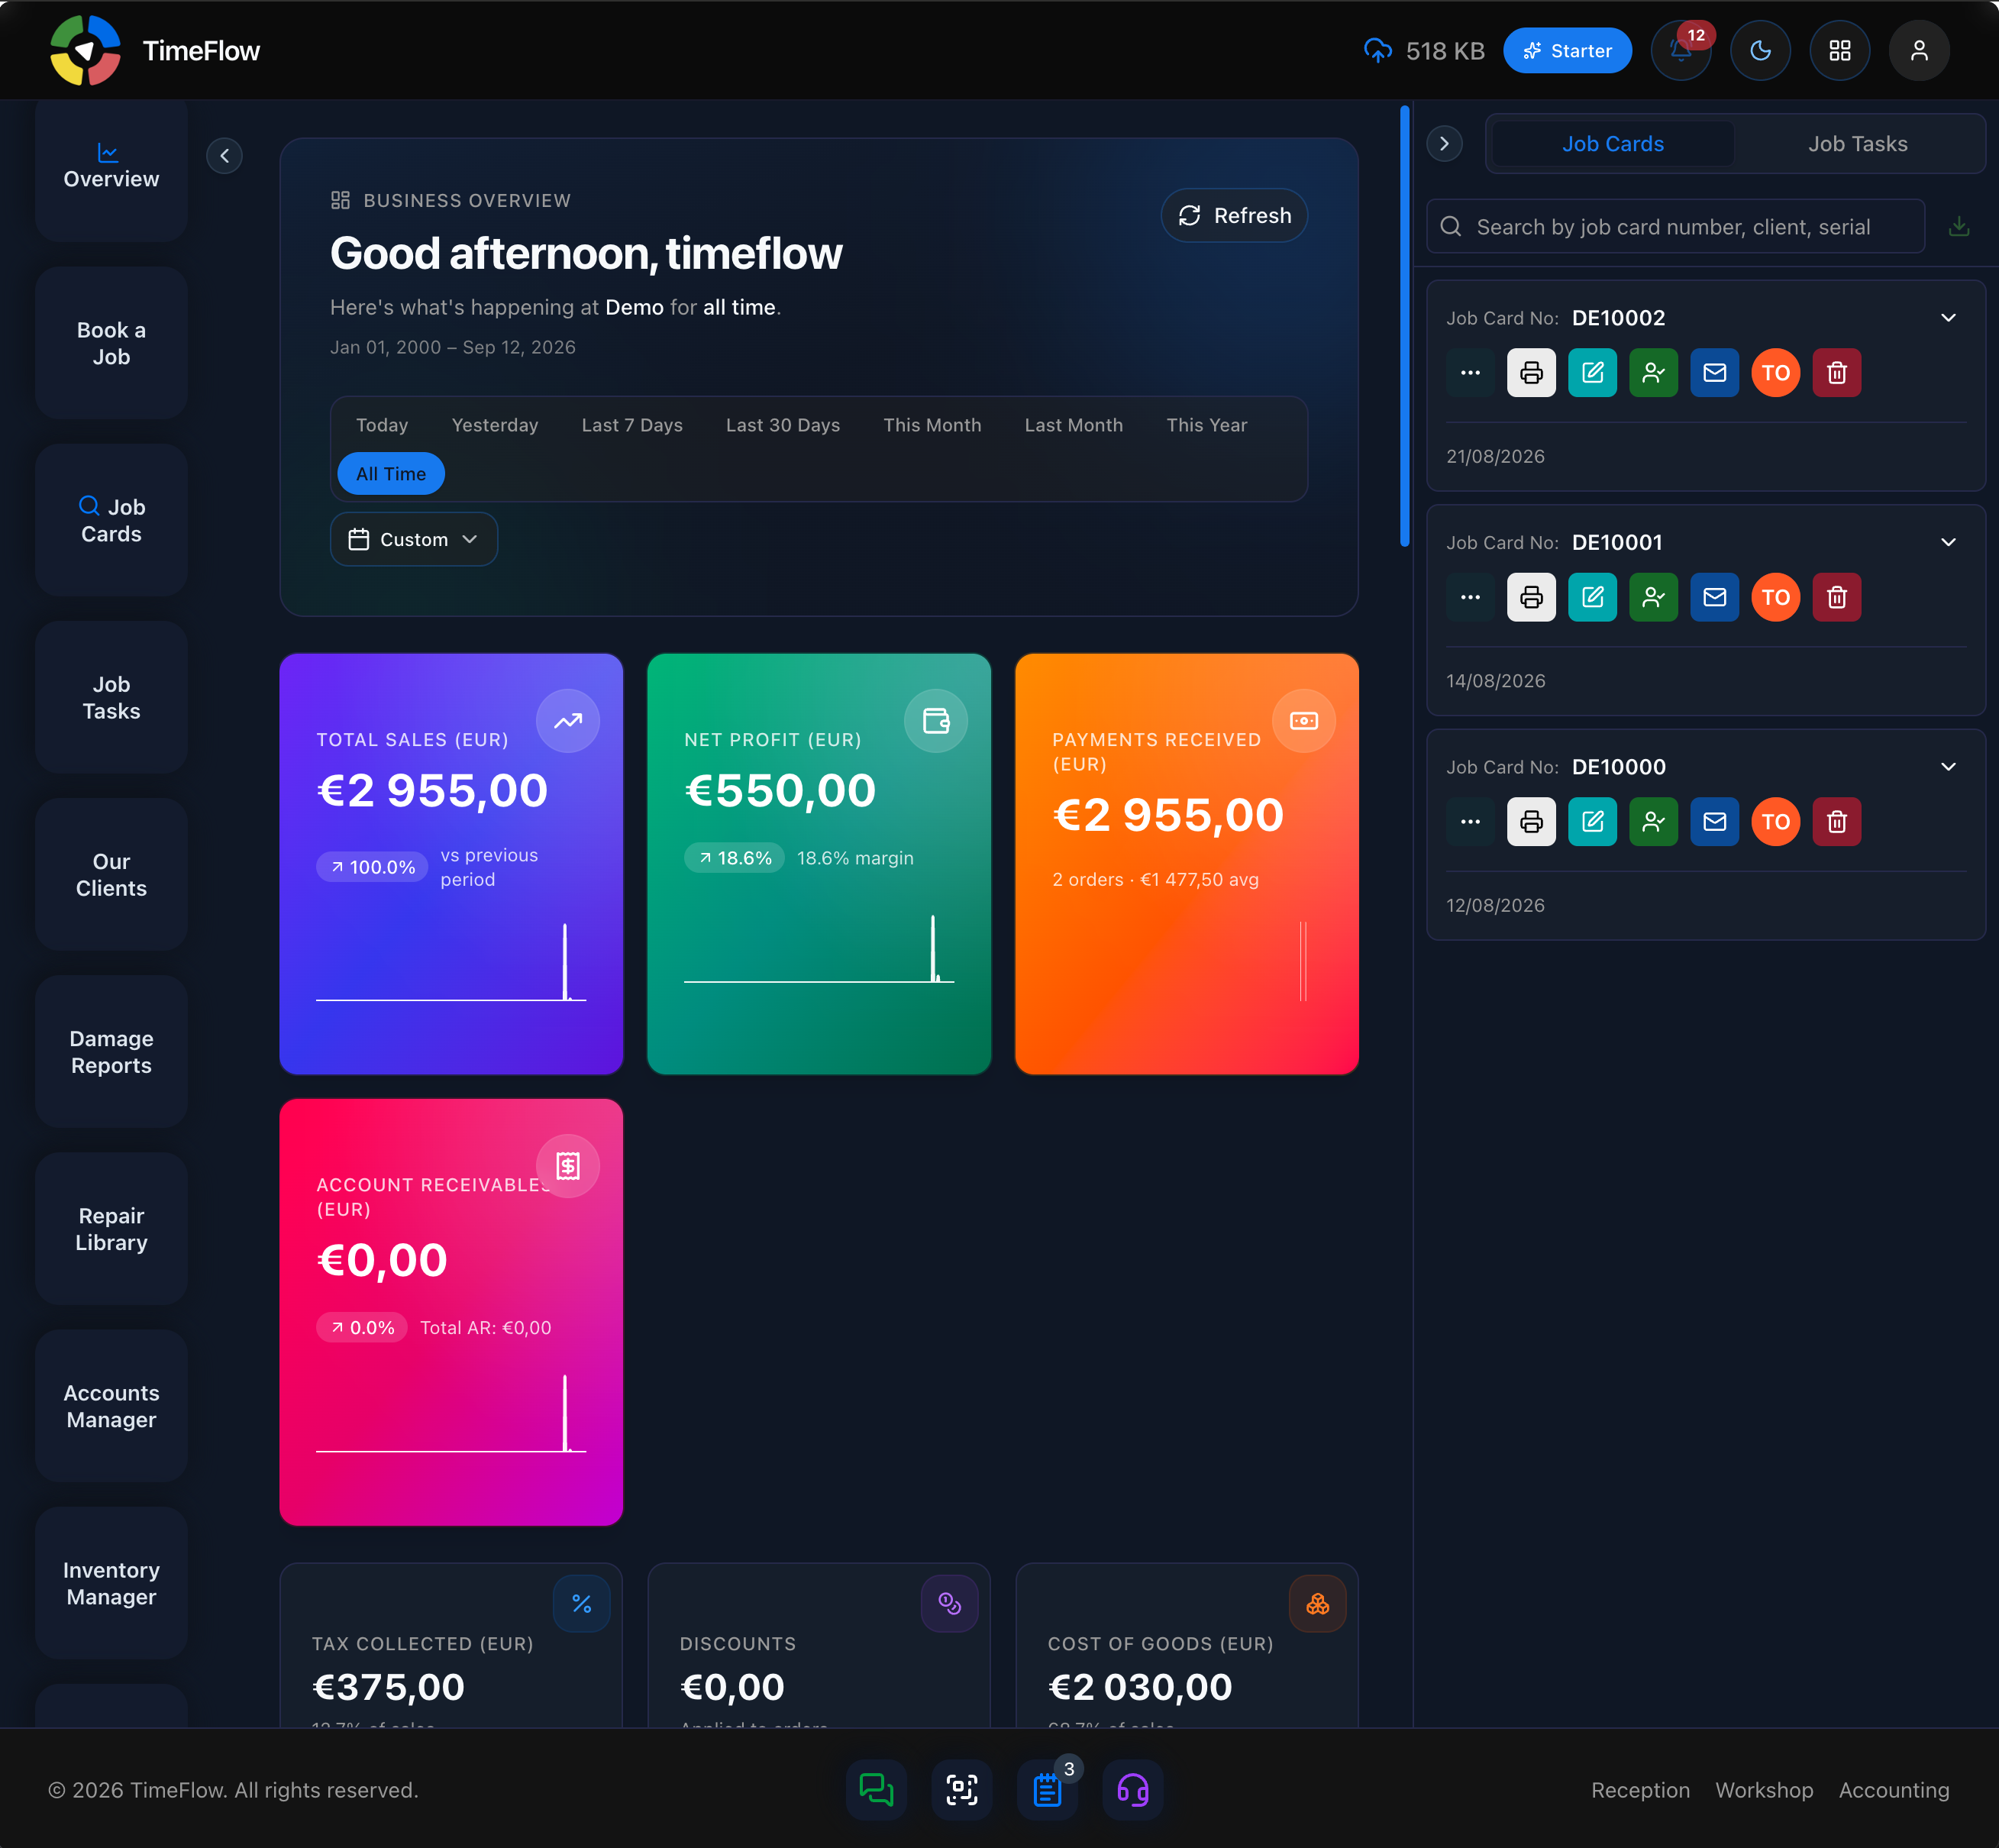
Separate from the left sidebar, there's a collapsible Jobs panel docked to the right edge of the dashboard (toggle it with the arrow button on that edge). It has two tabs:
- Job Cards — a live search box (by job card number, client, or serial number) so you can jump to any job card without leaving the page you're on.
- Job Tasks — a live search box (by task number, assignee, job card, or serial number) for finding tasks the same way.
From either tab you can click Assign on a result to open the Assign Task dialog — pick a technician, set a priority (Low/Medium/High/Urgent), and set a due date. This is also how a job task gets created in the first place: assigning a job card from the Job Cards tab creates its task; assigning again from the Job Tasks tab reassigns it. See the Job Tasks guide for details.
Roles at a glance
TimeFlow's permission model is built around job titles, which control what you see in the sidebar, header, and footer:
- Owner — sees everything, plus the Branch Switcher.
- Manager — sees the same core navigation as an Owner (minus branch switching).
- Technician — workshop-focused (Job Tasks, Damage Reports, Repair Library) plus a Workshop dashboard link.
- Reception — reception-focused (Book a Job, Job Cards, Our Clients) plus a Reception dashboard link.
- Accountant — accounting-focused, plus an Accounting dashboard link.
If you don't see a menu item you expect, it's almost always a missing permission — ask an Owner or Manager to grant it.
Frequently asked questions
Why can't I see a menu item in TimeFlow?
Menu items are shown based on your permissions and job title. If an item you expect is missing, ask an Owner or Manager to grant the matching permission.
What roles does TimeFlow support?
Owner, Manager, Technician, Reception, and Accountant. Owners see everything plus the Branch Switcher; technicians get a workshop-focused menu; reception gets booking and client tools; accountants get accounting tools.
Related guides
- Signing up & logging inCreate a TimeFlow account, verify your email, set up your company, first branch and team, log in, and complete your profile — step by step.
- Job tasksAssign job cards to technicians with priority and due dates, move repairs through statuses like Awaiting Parts, log parts used, comments, and technical reports.
- Booking a job cardBook a device or vehicle in for repair: create a digital job card with client details, IMEI/serial, condition, fault, insurance claim, and intake photos.