
Signing Up & Logging In to TimeFlow
This guide covers creating a TimeFlow account, setting up your company, logging in, and completing your profile.
Updated · Getting started & account
On this page
Before you start
These screens are outside the dashboard, so there's no sidebar, header, or footer yet — you'll see them once you're logged in and have completed company setup. Navigation here is by page-to-page links instead (e.g. "Already have an account? Sign in").
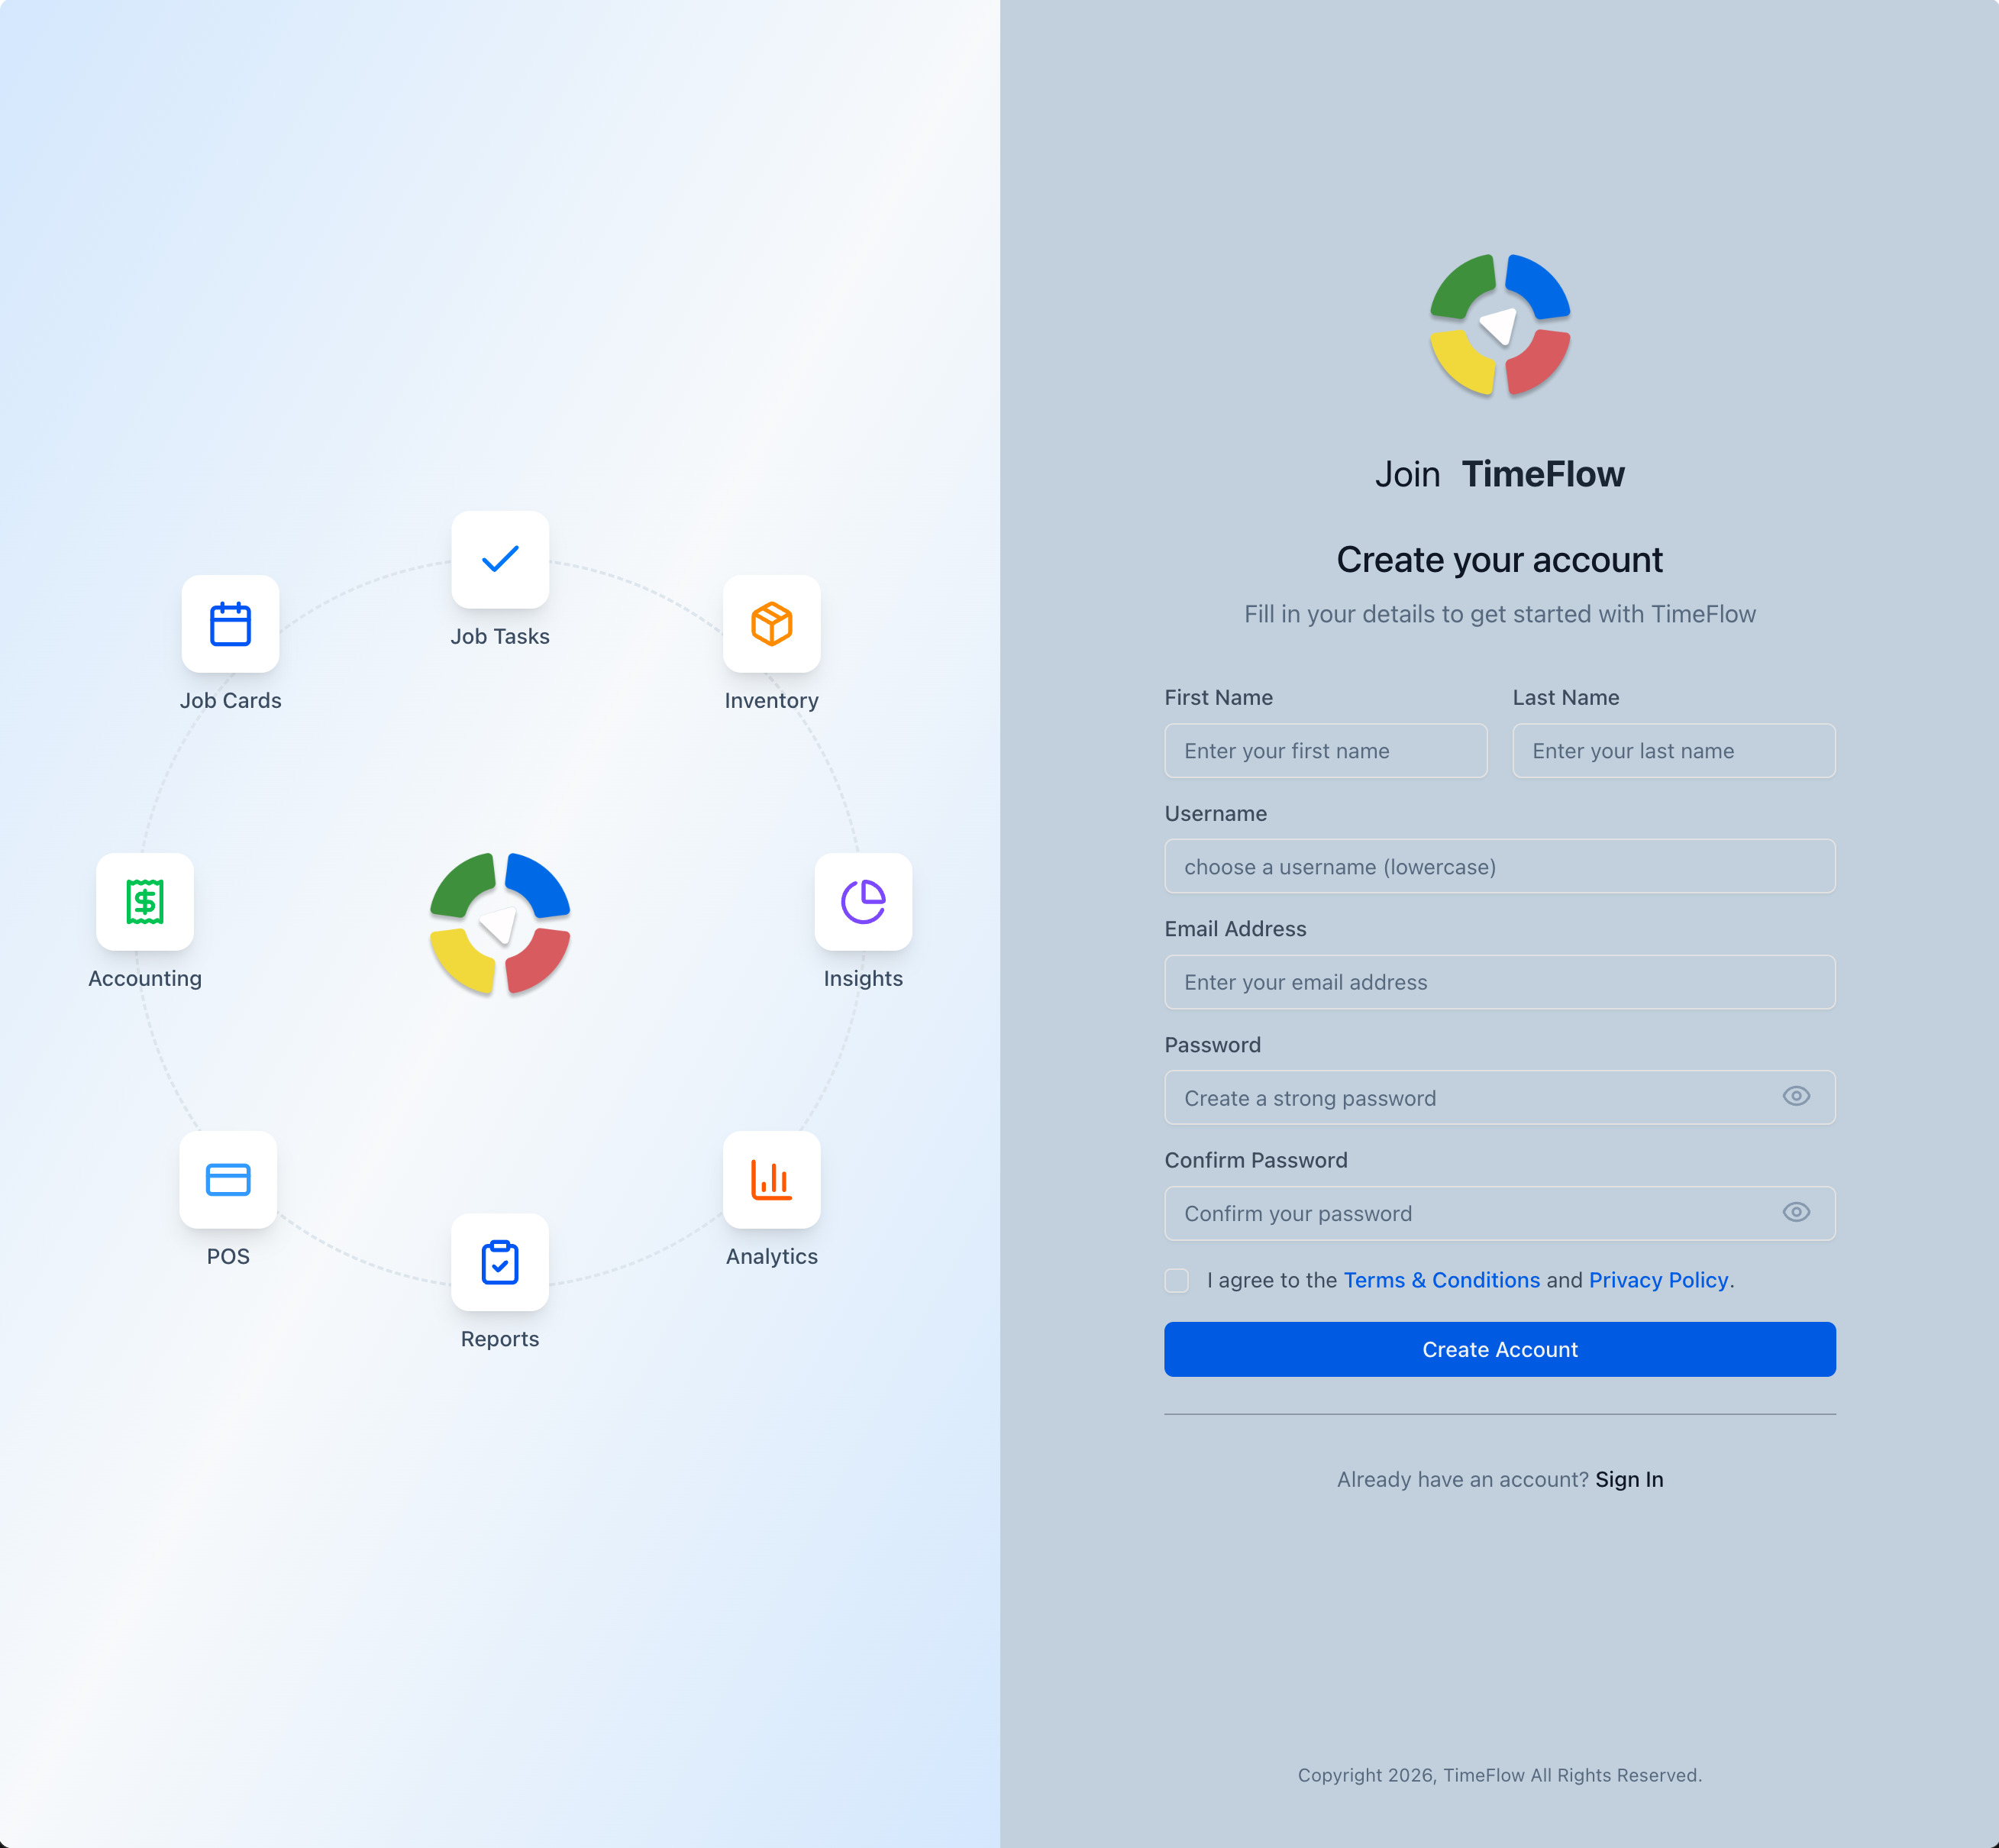
Step 1: Create your account
- Go to the TimeFlow sign-up page (
/auth/registration). - Fill in:
- First Name and Last Name (required)
- Username (required)
- Email (required)
- Password and Confirm Password (required)
- Accept Terms checkbox (required) — you must agree to the Terms & Conditions to continue.
- Already have an account? Click Sign In at the bottom of the form to go to the login page instead.
- Submit the form to create your account. You'll need to verify your email before setting up your company (see Step 2).
Step 2: Verify your email and set up your company
After registering, you're taken into the Register Company wizard (/register-company). If your email isn't verified yet, you'll see an email verification gate first — check your inbox for the verification link before continuing.
The wizard has these steps:
- Select Plan — choose your subscription plan and billing cycle (monthly/annual). If you arrived from a pricing link, your plan may already be pre-selected.
- Company Details — company name, size, email, telephone, fax (optional), website (optional), registration number, VAT registration number, country, and full address.
- Banking Info (optional — can be skipped) — bank, account holder name, account number, branch code, IBAN, and SWIFT code.
- Main Office — your first branch: name (e.g. "Main Office"), country, region/state, and full address.
- Team Members (optional — can be skipped) — invite team members by first name, last name, email, and role.
Use Next/Back to move between steps, or Skip on the steps marked optional. When you finish the last step you'll see a completion screen confirming your company is set up.
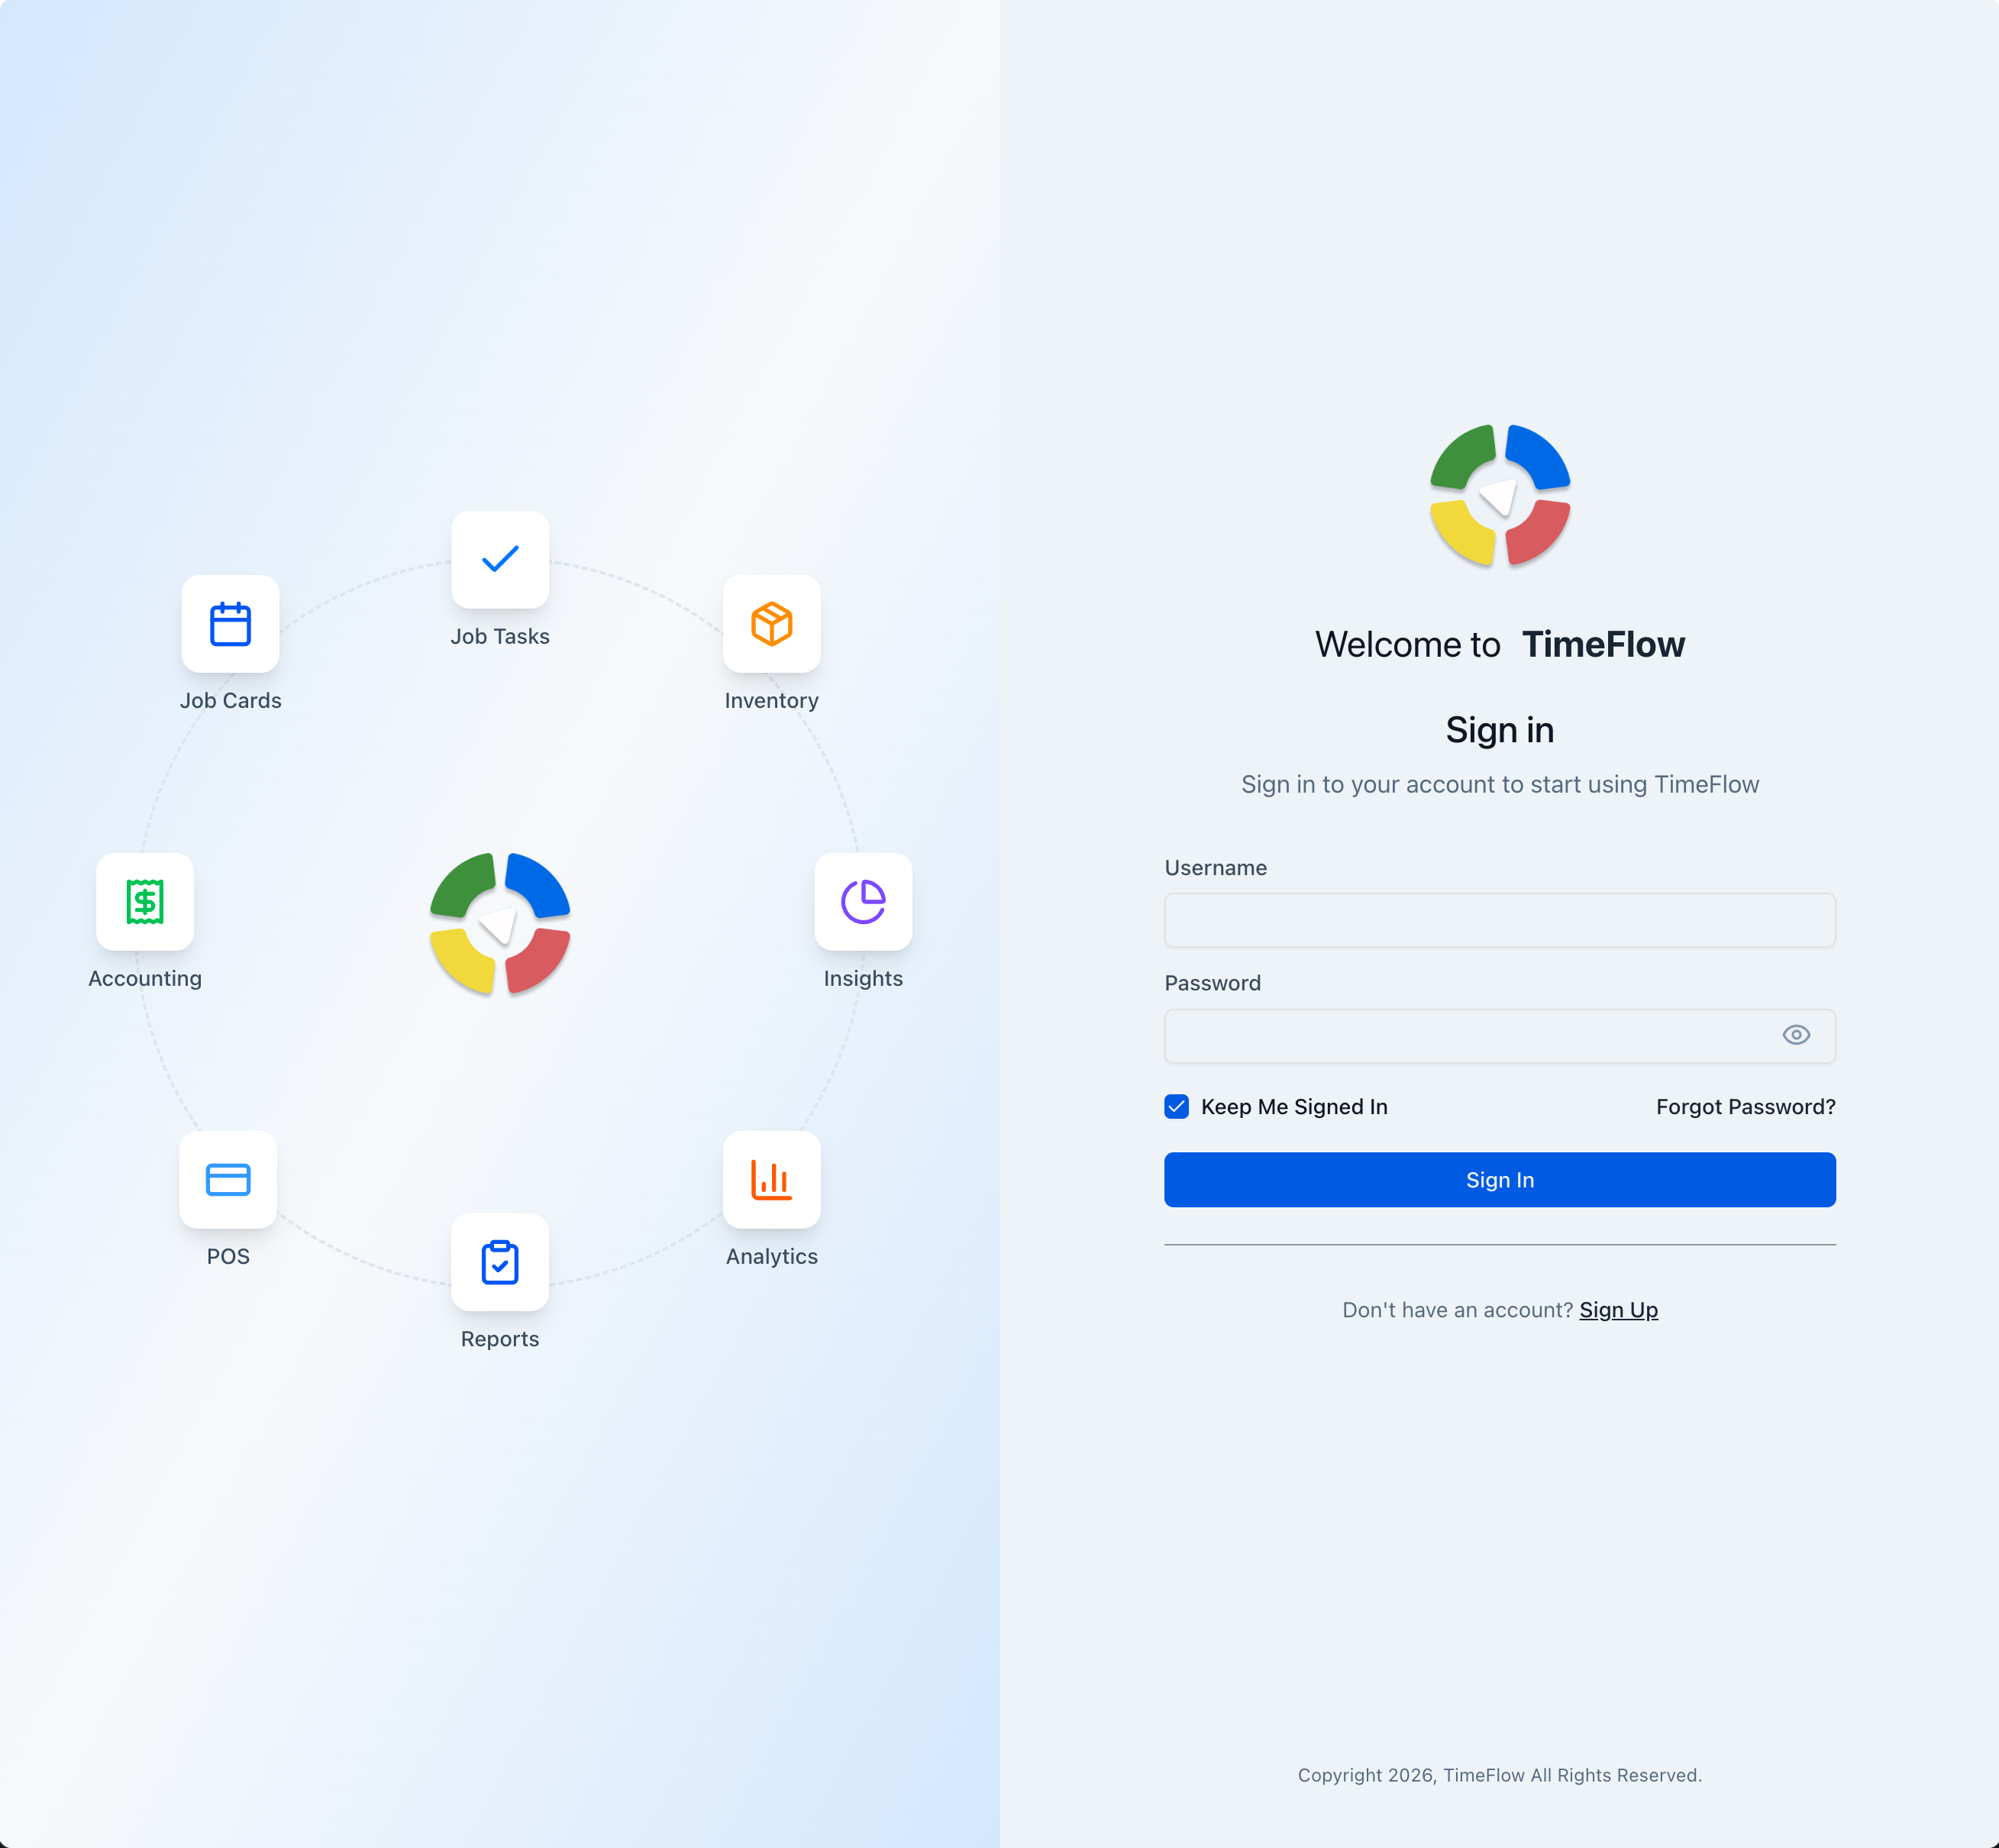
Step 3: Log in
- Go to the login page (
/auth/login). - Enter your Username and Password.
- Keep Me Signed In is checked by default — leave it on to stay logged in between visits.
- Click Forgot Password? if you need to reset it — this sends a reset link to your registered email.
- Submit to enter the dashboard.
Step 4: Complete your profile
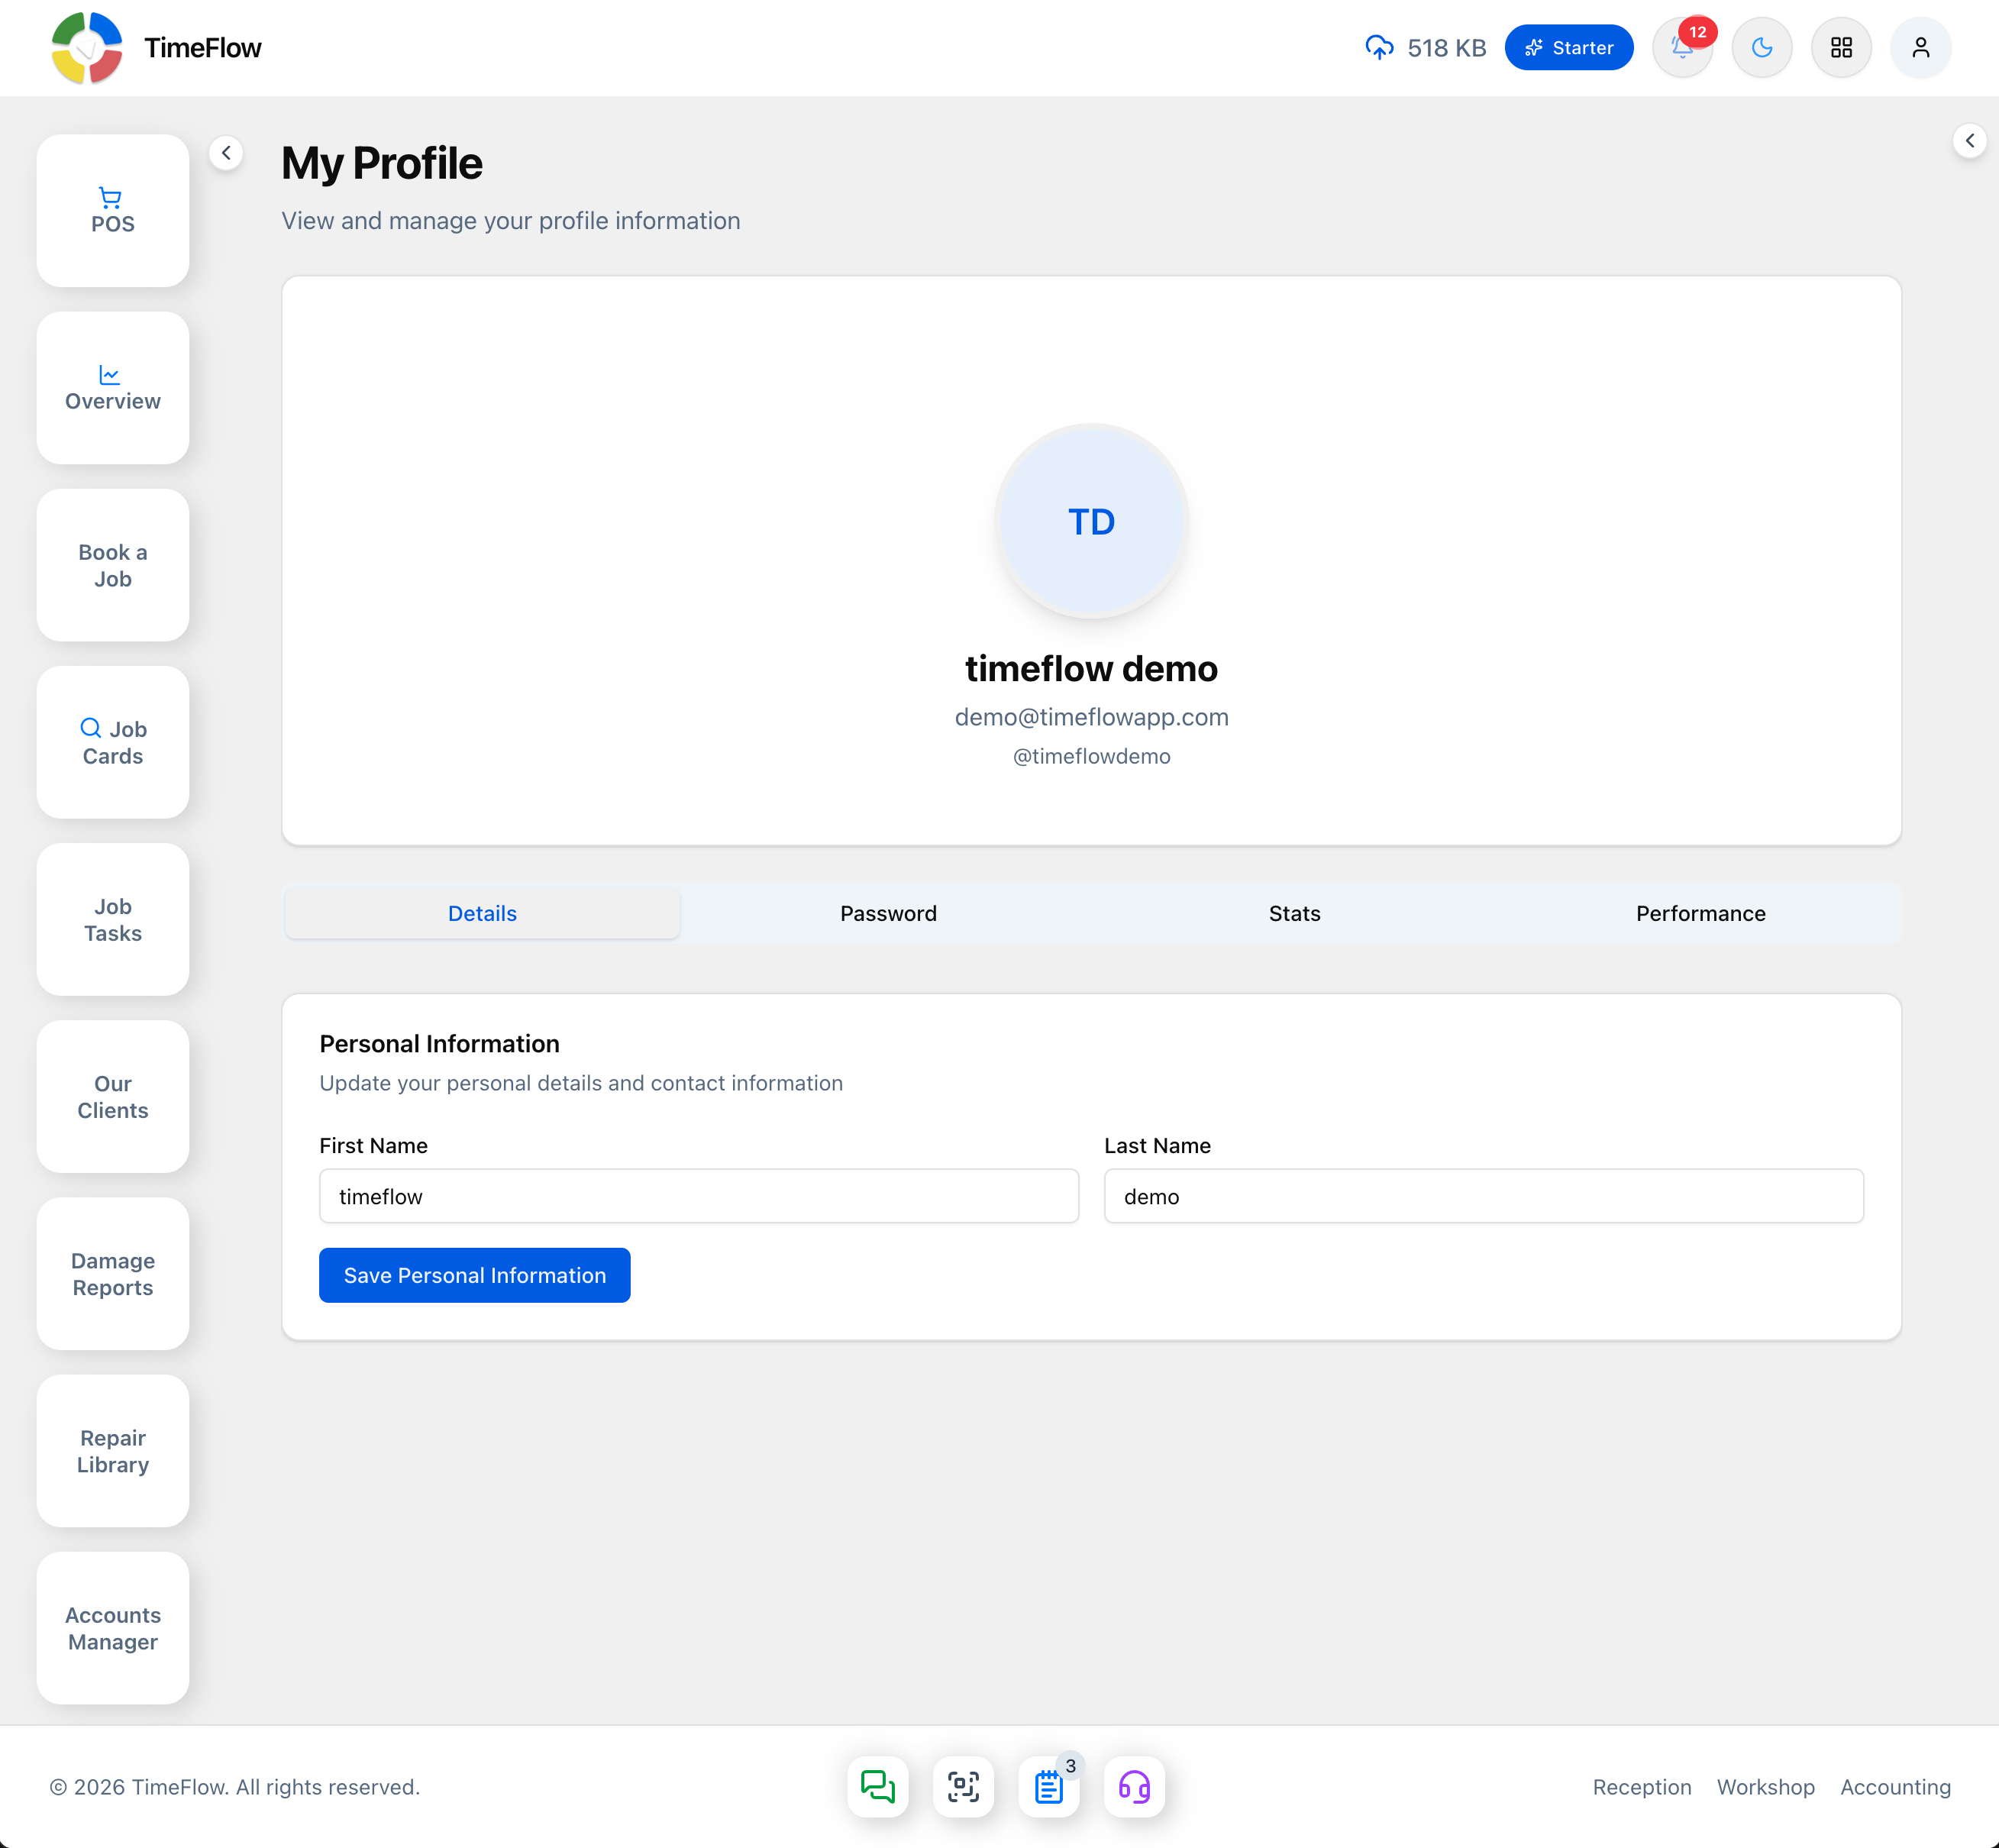
- Once logged in, open the profile menu in the top-right of the header (your avatar) and go to My Profile (
Dashboard → Accounts → My Profile). - The page has four tabs:
- Details — your First Name and Last Name (click Save Personal Information to update).
- Password — change your account password (Current Password, New Password, Confirm New Password).
- Stats — read-only Account Information (Username, Email, User ID, Status) and Account Dates (Date Joined, Last Login).
- Performance — charts of your Pipeline & Bookings (booked devices, sales invoices, repair bookings), Total Sales Value, and Reports & Documentation activity (tech reports, job comments, damage reports, item reports, claim reports, tasks).
- Update your name here so the rest of the team can identify you around the system (e.g. as an assigned technician). Your avatar shows your initials — there's no photo upload.
After signing in
Once logged in with a company set up, you land on your role's dashboard. From here you can use the left sidebar, header, and footer to reach every other part of TimeFlow — see the Navigating the TimeFlow Interface guide for a full breakdown of those.
Frequently asked questions
What do I need to set up my company in TimeFlow?
After creating your account and verifying your email, the Register Company wizard asks you to select a plan, enter company details, optionally add banking info, set up your main office (first branch), and optionally invite team members.
How do I reset my TimeFlow password?
On the login page, click Forgot Password? and TimeFlow sends a reset link to your registered email. Once logged in, you can also change it under My Profile → Password.
Related guides
- Navigating the interfaceLearn TimeFlow's layout — the left sidebar, header tools, footer shortcuts, and Jobs panel — and how owner, manager, technician, reception, and accountant roles change what you see.
- Company accountManage your repair shop's company details, banking, branches, currency, VAT settings, team members and permissions, and timezone from the Company Account page.
- Subscription & billingView your TimeFlow plan, switch between Starter and Professional, update your payment card via PayFast, and download invoices from your payment history.